MDX, Tailwind & Syntax Highlighting in NextJS Pages-Routing
February 06, 2023 - 11min - #mdx #tailwindtypography #rehype #webdev #tutorial
Setting up MDX in NextJS can be a bit of a struggle. Especially when you mix it with Tailwind and Rehype Pretty Code, which at times interfere. Here is how you can set them up together in near harmony.
Table of Contents
- Prerequisites
- MDX Setup
- Tailwind Typography
- Rehype Pretty Code
- MDX Custom Elements
- Custom Colortheme
0. Prerequisites
You must have already either followed the steps of this guide:
How to Code a Blog in 2025 (with MDX in Next 14 Pages-Routing)
Or have scanned through it to make sure the state of your project lines up with it:
- The NextJS installation settings,
- the pages-routing setup,
- and the HomeFeed component should be exactly the same.
1. MDX Setup
Start with the basic installation:
npm install @next/mdx @mdx-js/loader @mdx-js/react @types/mdxNow to the config file, with a little bummer. The NextJS docs show an outdated version of the configuration settings:
const withMDX = require('@next/mdx')();

/** @type {import('next').NextConfig} */
const nextConfig = {
  pageExtensions: ['js', 'jsx', 'mdx', 'ts', 'tsx'],
};

module.exports = withMDX(nextConfig);
All other plugin configs that you need to make MDX working use ESM module imports. So you have to translate it into ESM syntax like this:
// This imports a higher-order function that configures Next.js and MDX to work together.
// In some tutorials it gets imported as createMDX.
import nextMDX from '@next/mdx';

// This is the NextJS-specific config object.
const nextConfig = {
  pageExtensions: ['js', 'jsx', 'mdx', 'ts', 'tsx'],
  reactStrictMode: true,
};

// In nextMDX, you can set additional MDX options and plugins, which will be covered later in the article.
// It then returns a function with the final mdx settings to later extend nextConfig.
// withMDX captures the returned function.
const withMDX = nextMDX({ options: {} });

// Finally, wrap the extension function around nextConfig.
// This exports "nextConfig extended with MDX".
export default withMDX(nextConfig);
Note: For NextJS to recognize the config to be in "module mode", you have to also change the file-ending to .mjs.
A big part in making the whole setup work, is to understand how the config file works, so you can consciously re-adjust from there.
If you should get stuck anyway, I can recommend to follow the steps again in a from-scratch NextJS project.
Note for beginners: You can set that up really fast in a separate IDE workspace and run both your main and your experimentation project at the same time.
Remark Frontmatter Plugin
Now you should be able to see your .mdx pages via
localhost:3000/posts/blog-post-title.mdx. However, the frontmatter metadata
section gets rendered aswell and ruins the start of the article. To hide it,
install remark-frontmatter:
npm install remark-frontmatterAnd update the config:
import nextMDX from '@next/mdx';
import remarkFrontmatter from 'remark-frontmatter'; // Import.

const nextConfig = {
  pageExtensions: ['js', 'jsx', 'mdx', 'ts', 'tsx'],
  reactStrictMode: true,
};

const withMDX = nextMDX({
  options: {
    remarkPlugins: [remarkFrontmatter], // Set.
  },
});

export default withMDX(nextConfig);
2. Tailwind Typography Setup
Now the metadata is hidden and you should only see the content of the markdown page.
The next thing to notice is that there is no markdown formating: ##h2 - li
>blockquote etc aren't showing as they should. That's because Tailwind resets
all styles, including markdown elements.
You have to install the
Tailwind Typography Plugin
and apply its prose-classes to your .mdx pages, to revive the markdown
functionality.
Install via npm:
npm install -D @tailwindcss/typographyAnd add the plugin to your tailwind.config.js file:
const tailwindConfig = {
  content: [
    './src/pages/**/*.{js,ts,jsx,tsx,mdx}',
    './src/components/**/*.{js,ts,jsx,tsx,mdx}',
    './src/app/**/*.{js,ts,jsx,tsx,mdx}',
  ],
  theme: {
    extend: {
      fontWeight: {
        // ...
      },
      // ...
    },
    // ...
  },
  plugins: [require('@tailwindcss/typography')],
};
export default tailwindConfig;
Now, to actually apply the typography plugin styles (className="prose") to
your mdx page, you need to set up an MDXPage component, and an MdxLayout
component.
export default function MdxLayout({ children }) {
  return (
    // Place the main tag for your blog pages in here.
    <main
      // Set styling layout here. Explanation of classes below codeblock.
      className="prose prose-neutral mx-auto w-full max-w-2xl grow px-4 pt-12 dark:prose-invert hover:prose-a:underline prose-pre:-mb-4"
    >
      {children}
    </main>
  );
}
Explanation of classes (line by line):
- general
<main>settings related to height, width, positioning etc - "activate" prose for all posts, set grayscale tone, enable darkmode
- customizations for markdown elements
Check out the Tailwind Typography Docs for all styling options.
Now, its time to mount MdxLayout. Below the frontmatter, and above your
content of each .mdx file insert this MDXPage component:
---
title: ""
date: "2023-00-00"
readingTime: "00min"
preview: ""
---
import MdxLayout from '../components/MdxLayout'; // Import.
import Head from 'next/head';
export default function MDXPage({ children }) {
const headtitle = 'Headtitle For The Post'; // Here you can set the Head title for your current post.
return (
<MdxLayout>
{' '}
// Mount.
<Head>
<title>{headtitle}</title>
</Head>
<article className="text-justify">{children}</article> // Set styling
specific for this post. Include article tag for SEO.
</MdxLayout>
);
}
// Blog post content...Now you should finally see markdown behaviour as usual. Congratulations!
3. Rehype Pretty Code
Every dev blog needs proper codeblocks. A great syntax highlighter for this projects tech stack is Rehype Pretty Code.
Install via npm:
npm install rehype-pretty-code shikiAnd setup in next.config.mjs:
import nextMDX from '@next/mdx';
import remarkFrontmatter from 'remark-frontmatter';
import rehypePrettyCode from 'rehype-pretty-code'; // Import.

const nextConfig = {
  pageExtensions: ['js', 'jsx', 'mdx', 'ts', 'tsx'],
  reactStrictMode: true,
};

// See docs for more options and pre-packaged themes.
const prettyCodeOptions = {
  theme: 'synthwave-84',
};

const withMDX = nextMDX({
  options: {
    remarkPlugins: [remarkFrontmatter],
    rehypePlugins: [[rehypePrettyCode, prettyCodeOptions]], // Set.
  },
});

export default withMDX(nextConfig);
Now your codeblocks should be pretty, let's go!
4. MDX Custom Elements
There is a lot you can customize via Tailwind Typography, but for some markdown components you might want extra control.
Just create an mdx-components.js file like this in your root folder, and
NextJS will recognize it:
export function useMDXComponents(components) {
  return {
    h2: ({ children }) => <h2 className="text-4xl text-red-500">{children}</h2>, // Tailwind Classes do not always work here.
    hr: () => <hr style={{ height: '1.7px', backgroundColor: 'white' }} />, // Inline styles did always work so far.
    pre: ({ children }) => <pre>{children}</pre>, // Why is this unstyled? See explanation further below.
    ...components,
  };
}
Even if you don't have customizations in mind yet, make sure to set up at least the empty component already, you will likely run in to trouble without it later.
At this point we have TailwindCSS, Tailwind Typography, Vanilla CSS and Markdown
(and Prettycode) intermingling. I am pretty sure that's the reason, why
sometimes, Tailwind classes don't work in mdx-components.js.
I have not found a direct solution for that, but you can cope by using
inline-styles CSS (see <hr/>) or by customizing MDX components via Tailwind
Typography in MdxLayout.js.
Codeblock Customization: You might notice, that some codeblock
customizations via prose-pre: in MdxLayout do not work. I have not found the
reason why, but I found a way to make it work: Insert
pre: ({children})=> <pre>{children}</pre>, as an unstyled custom component.
You should now be able to use all prose-pre: customizations.
MDXProvider: Some tutorials also tell you to use an <MDXProvider> for
custom components, but that is not neccessary and critizised by the
MDX Docs. Instead, just set up
the mdx-components.js file like explained, and have <MDXProvider>
(@mdx-js/react) NOT installed.
5. Custom Colortheme
Parallel to the blog, I created a custom colortheme to use in VS Codium. I used this buggy, but cool themegenerator on vscode.one.
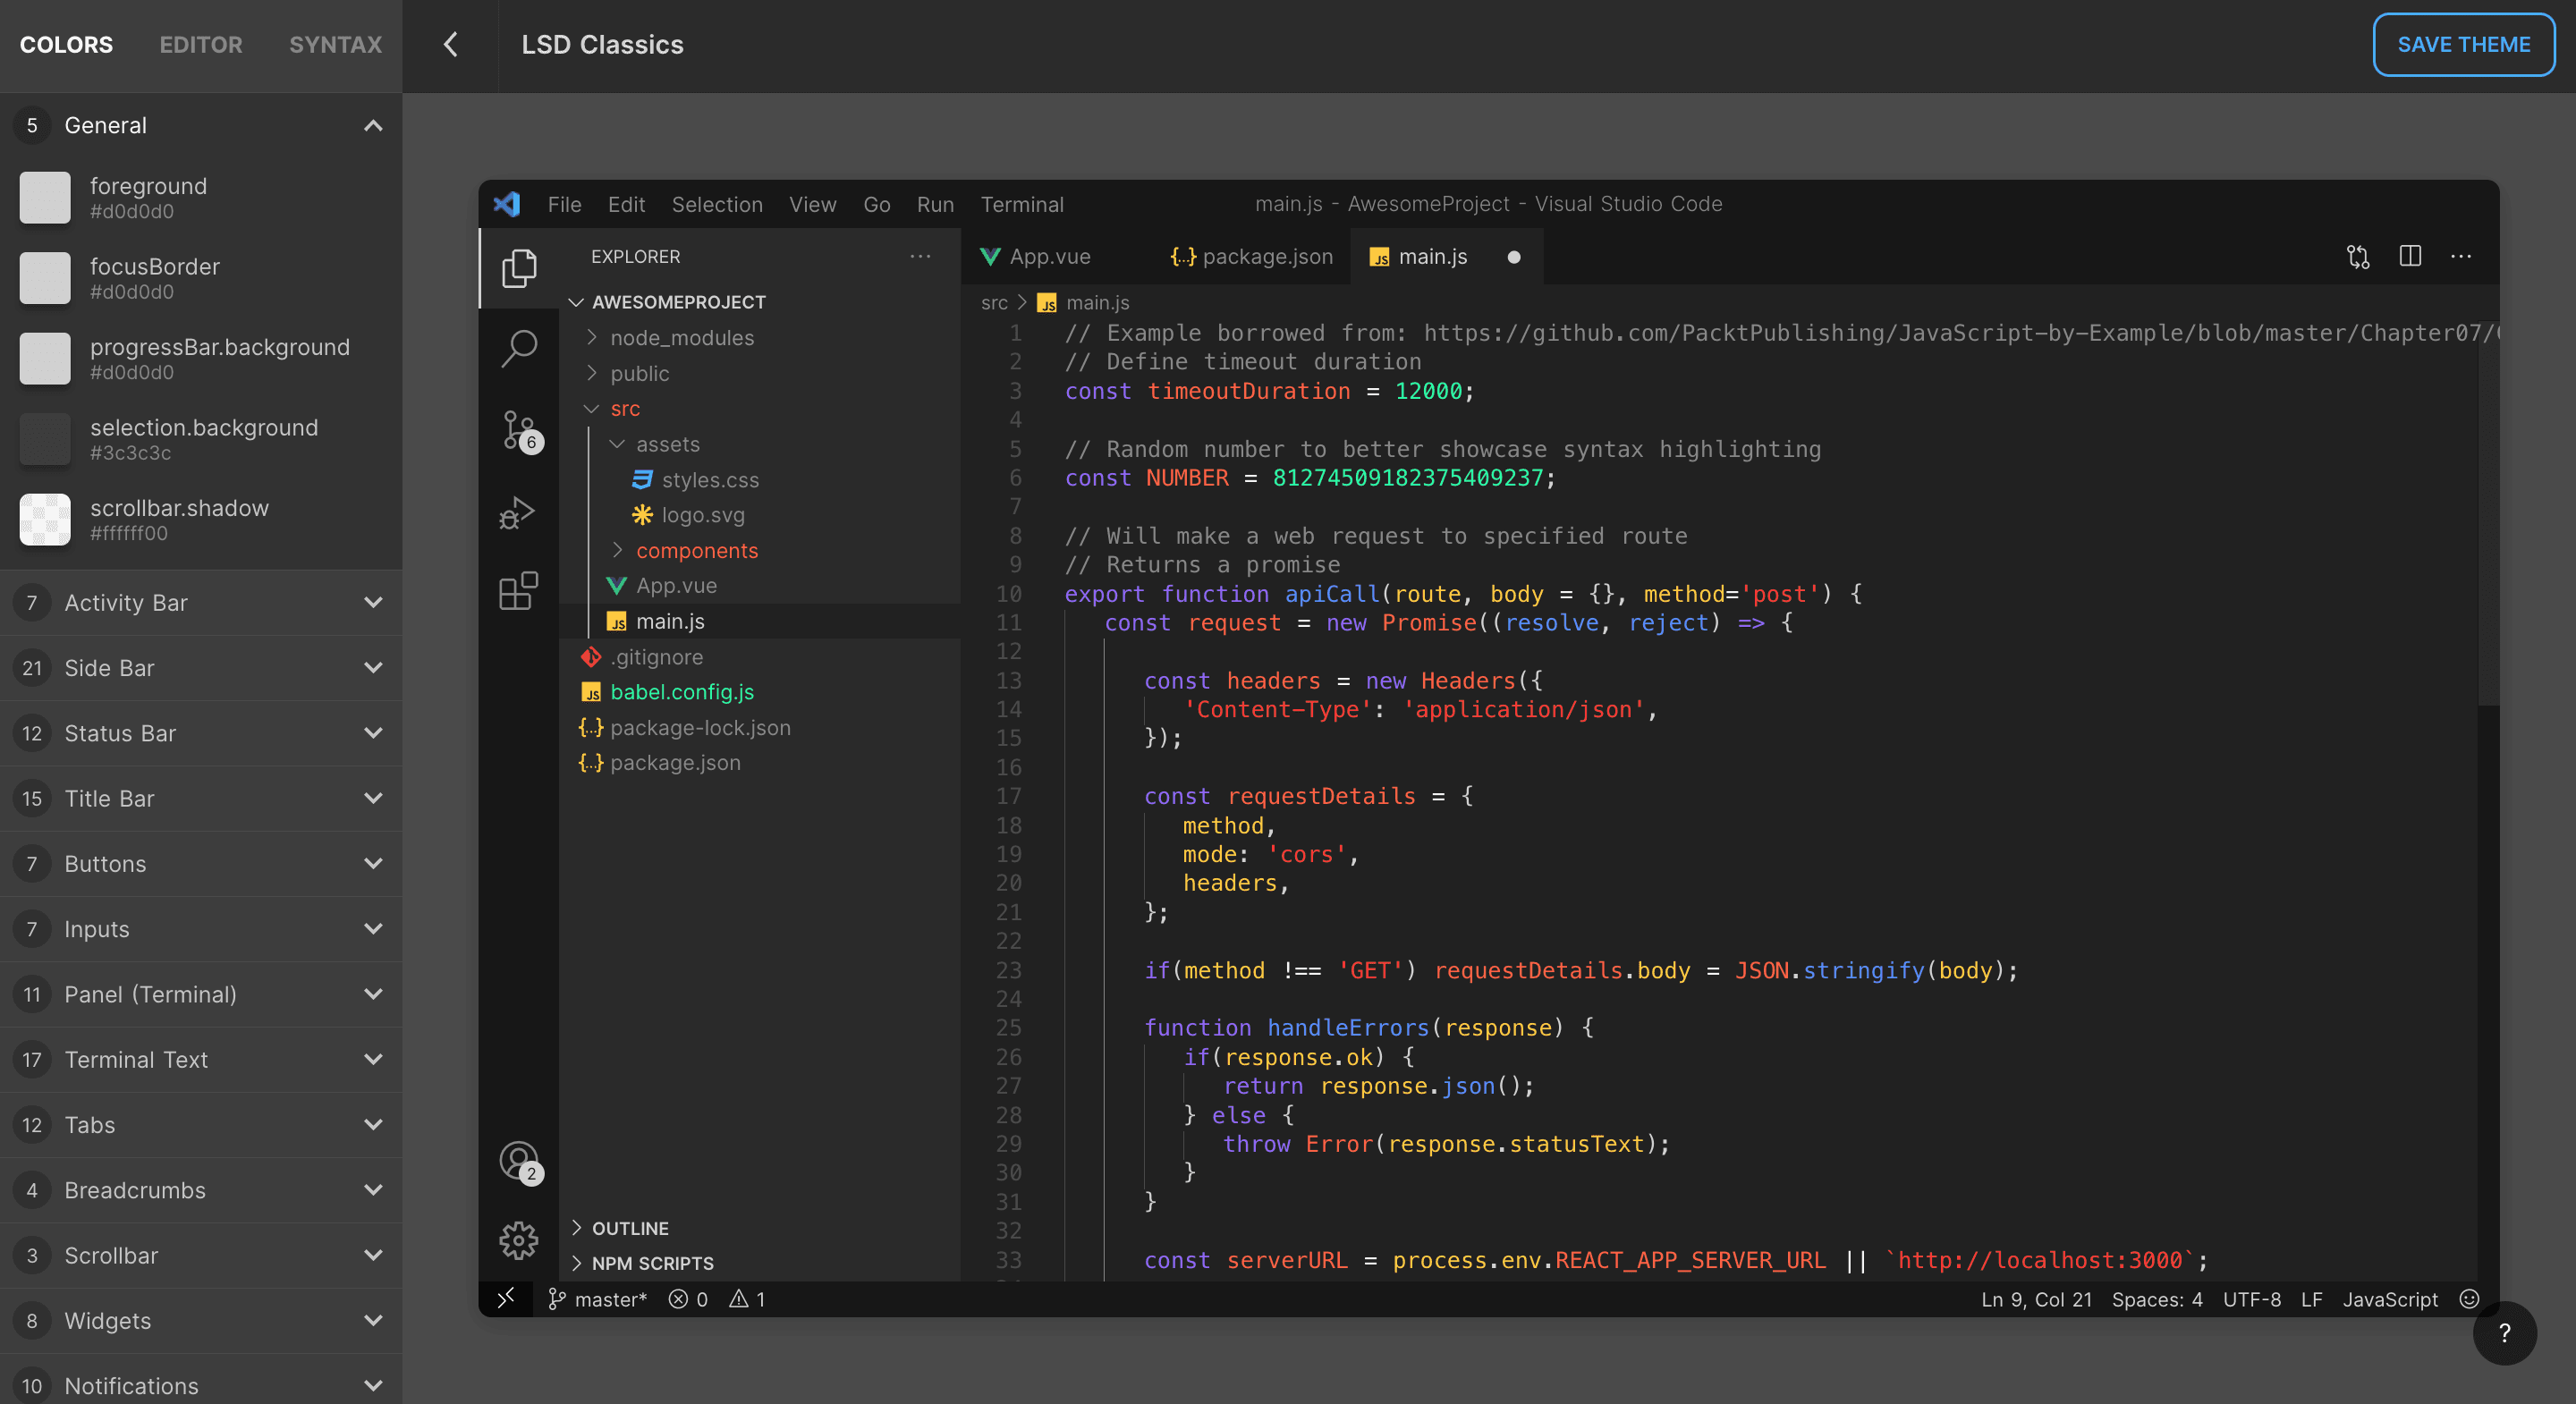
Unfortunately I found out afterwards, that it is not compatible with the newest
versions of VS Code. However, I could at least use it for this blog, by
importing it via fs:
import nextMDX from '@next/mdx';
import remarkFrontmatter from 'remark-frontmatter';
import rehypePrettyCode from 'rehype-pretty-code';
import fs from 'fs'; // Import filesystem to access locally stored custom colortheme.

const nextConfig = {
  pageExtensions: ['js', 'jsx', 'mdx', 'ts', 'tsx'],
  reactStrictMode: true,
};

const prettyCodeOptions = {
  // Set local theme like this.
  theme: JSON.parse(fs.readFileSync('./public/LSD-Classics.json', 'utf-8')),
};

const withMDX = nextMDX({
  options: {
    remarkPlugins: [remarkFrontmatter],
    rehypePlugins: [[rehypePrettyCode, prettyCodeOptions]], // Set plugin.
  },
});

export default withMDX(nextConfig);
Be careful when creating your own theme with that tool: Saving only works every once in a while...
Also, changes that you make manually in the .json after loading into rehype
only show up after replacing it with another theme eg.
rehypePlugins: [[rehypePrettyCode,{theme:'one-dark-pro'}]], and then
reimporting your updated custom theme again.
I hope this saves you from having days of frustration. If it does - feel free to subscribe below:)